 I got into photography a few years before the digital revolution exploded and people everywhere began remarking on the death of film as a capture medium for light painting (er, photography). Some say film is dead – I say film is as dead as painting, which is still a vibrant activity for millions throughout the world. Having a darkroom in my apartment has been a quiet dream of mine for a long time, and recently became a reality (till I had to take a shower). This is a summary of my latest analogue escapades with black and white printing. When you develop your own film and enlarger your own prints, there’s this mystic feeling of having a hand in the total process from image capture to final print. A sense of being able to push and pull your development and watch the prints magically grow from the arid white vastness of the unexposed paper to a finely contrasted representation of reality. It’s the embodied feeling of getting it right in the camera. Cartier-Bresson, the decisive moment, Joey L with a Polaroid and capturing the moment. Anyways, I just moved to a new place and hadn’t setup my digital studio yet.
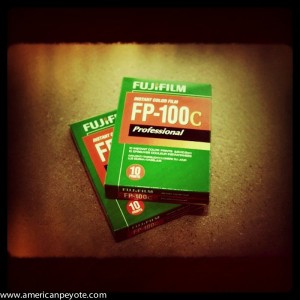
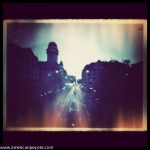
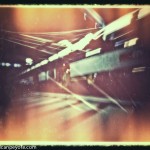
For the past few weeks I’ve been working with a friend of mine to setup a pinhole camera project for a 6th grade class she’s teaching. We began with a Polaroid pinhole camera, but it’s too expensive to have each kid build a camera with a Polaroid back on it, and you also can’t tell the whole story of how an image is developed, as it’s all contained within the Fuji/Polaroid insta-magic photos. So, instead my friend went back to her roots and decided to have the kids build a traditional pinhole camera using black+white paper as the film, and then create the final image via contact printing. It’s a great project for students, especially in this techno-world of today where every gadget can take photos and then upload your electronic images to Facebook, creating and instantly distributing a perfect copy of a copy of a copy that can be shared and retweeted and posted all over the planet. You lose of course, the uniqueness of the printed image. A printed photo is unique – this transience, this fleeting fleck of uniqueness can be seen and felt in each print you develop by your own hand, because no two will be exactly the same (well, at least the way I do it they’re all unique accidents).
 Dark(bath)room Setup
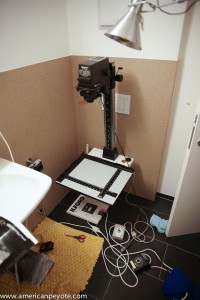
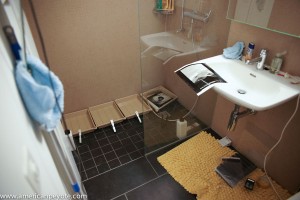
We needed a darkroom setup of course to realize the project. I easily found a Rollei enlarger setup on Ricardo.ch (a Swiss auction site) for 250 CHF with two new packs of Iflord Multigrade paper. It was a no-brainer to pick it up. The enlarger was a classic Rollei, coming direct from Lisa, a photographer in the Zurich area. From HobbyLab.ch we ordered the developer and fixer chemicals. Film may be dead (as some say), but it’s super easy to find everything needed for a darkroom. We took ownership of the enlarger and accessories on a sunny Sunday morning, and spent the rest of the day setting up the laboratory and making prints in the bathroom. We put the developer trays and chemicals in the shower to have some running water. Ideally you don’t want to balance the enlarger on a toilet, but you sometimes need to make do with what you have, which is exactly what we did (thankfully it never fell off).
 First Prints
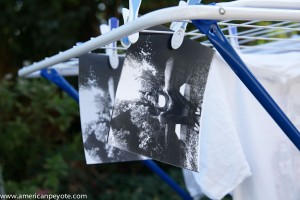
My friend started out doing exposures of me sitting outside with her pinhole camera. This was nothing more than a shoebox with a piece of Iflord paper in the back and a pinhole in the front. This piece of paper was developed (creating the negative) and she created the final positive image via contact printing of the negative pressed flat against a second piece of paper under the light of the enlarger. As it was a wonderful sunny Sunday and I had just done some laundry, we hung the prints out to dry along with the whites. This was my first experience seeing pinhole images like this, and I think they rock. The kids in her class are going to have a fabulous time building their own cameras, doing prints, and learning valuable lessons about optics during the process.
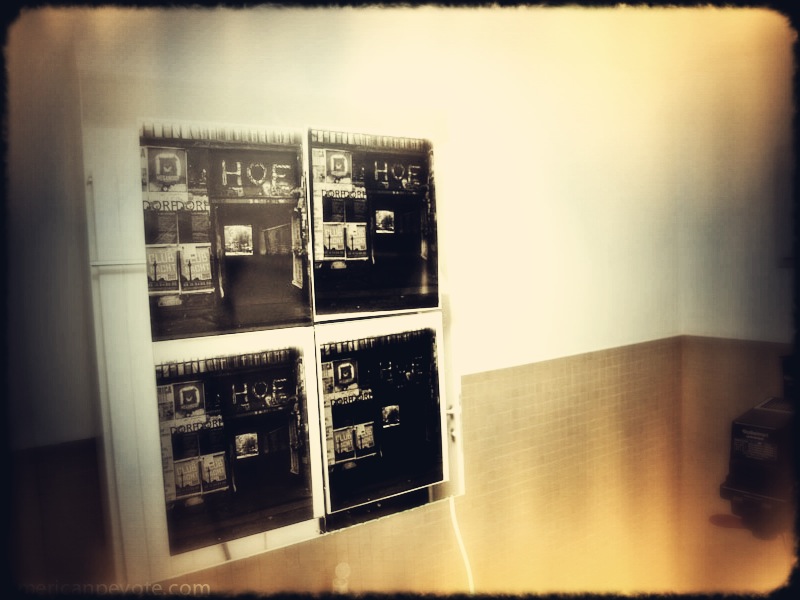
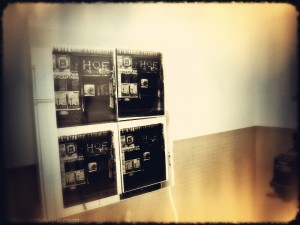
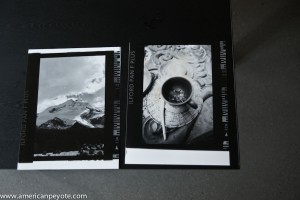 I opted to print images I already had, and pulled out the first black and white negatives I could find, which happened to be some ISO 50 Ilford PanF exposures I had made in Bolivia during a trip back in 2003. This is a high contrast film, and it prints very nicely on Ilford Multi-grade paper. I decided included the film carrier holes in my prints, mimicking those retro-film borders you can apply to your iPhone photos using many random retro-cam apps. Fuck the apps, if you desire ultimate interactivity and user experience then consider a darkroom. Oh, do you have a retina display? I have a retina as well – two in fact, they’re called my eyes. Wow, cool, you can view your images on your iPad – know what’s cooler, looking at the smooth fantastic surface of a new print drying in sun along with your laundry. I also pulled out a Fuji Neopan 120 negative from my favorite place in Berlin, and played around printing images of this club front and sticking them to the bathroom mirror. I love how films all have cool names like PanF, Neopan, Provia, Velvia – all with individual character traits and unique personalities, a concept generally lost in the Canikon pissing matches and pointless megapixel branderbating orgies that dominate too many conversations in the photo circles of the world.
 Digital Is Not Worthless
I know there are photographers today who have never touched a piece of film, let alone developed or printed their own images. I love creating images with Photoshop and my Sony 24 mega-beast A900, but it’s not the same as creating in the darkroom. I started out with film, moved on to a film scanner to create files for prints, then went on to digital cameras and then expanded to Photoshop. From Photoshop I went a little analogue – started doing paintings, and now my journey has come full circle back to where I thought would be awesome 15 years ago – doing my own prints in a darkroom. No regrets at any point. Use the technology tools you have as you see fit and never stop exploring.
